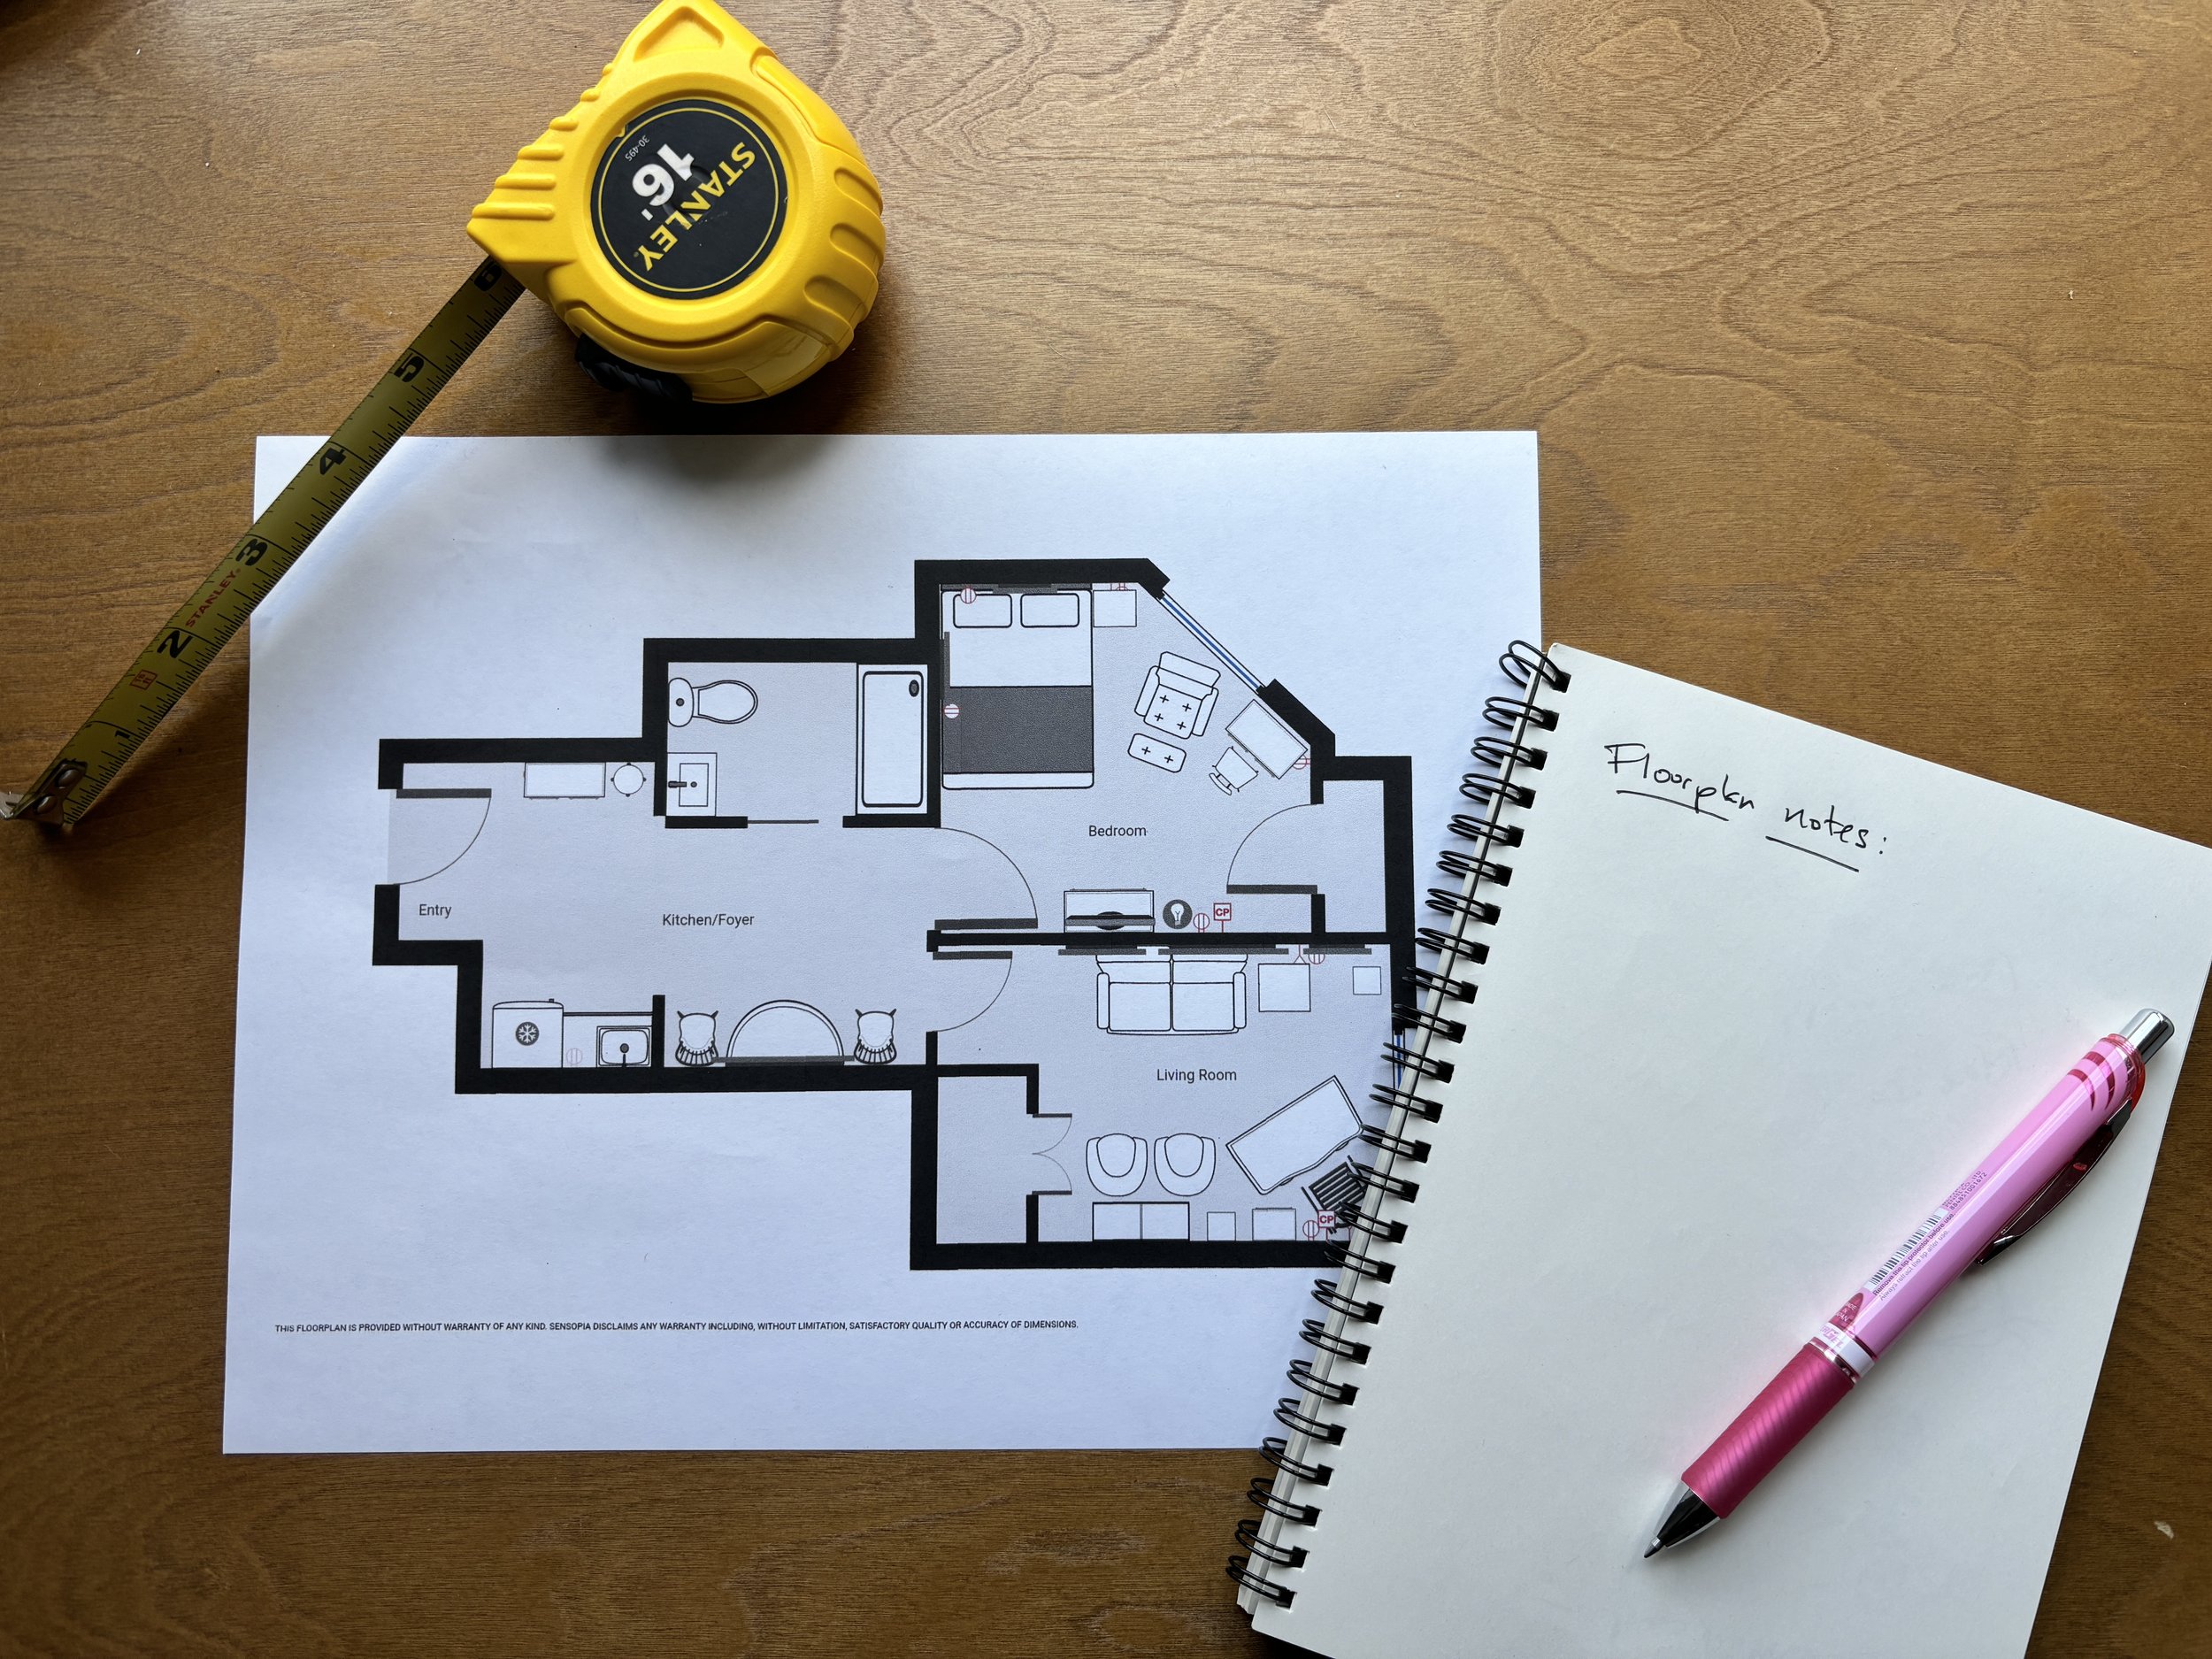
Floorplan Design Part I – measuring a new apartment
One of the first steps we take when helping a client move is designing a floorplan. This involves helping them decide which furniture they will move into their new apartment. After we know the furniture that will be moved, it becomes easier to decide how much “stuff” to bring to fill this furniture.
For example, if a client currently has four bookcases but – after completing a floorplan – we realize they can only move one bookcase to the new apartment, we now know how many books they can bring and how many they should give away or donate. Once we know which bookcase is being moved, we will often empty it and help the client fill it with only the books they will be bringing.
This process helps make it clear how many books will fit. Suddenly the thought “I need to downsize my book collection” stops being theoretical and the downsizing goals become clear because we now know exactly how many books we are able bring.
The first step in designing a floorplan is measuring the future apartment and building a model of the empty apartment. We use an iPad app called MagicPlan. There are other floorplan apps available but this is the one we find most useful. Many apps have 3-D options and other high end features, but we’ve always found those to be bells and whistles which look flashy but do not really make any difference in your decision making. Our method is simpler and gets you the same results.
Here is our checklist for measuring a new apartment:
Take your time when measuring a new apartment. Make sure you are getting accurate measurements, checking twice if necessary. If you are sloppy at this point, it will become an issue on move-in day.
Ideally, bring a partner with you. Your partner can do the actual measuring, leaving you time to enter the space accurately into your app, floorplan tool, or notebook.
Take a lot of photos. I can’t tell you how often we have referred back to photos when talking about and planning a move for a client.
Note windows, electrical, and cable outlets and make sure you have photos that include these.
Measure the ceiling height and take photos of the ceiling so you can remember what overhead lighting (if any) is in place. Also, sometimes a section of a room will have a lower ceiling than the rest. This matters if you’re thinking of putting a bookcase or high cabinet there. So be sure to note it.
Measure and take photos of the insides of closets; specifically, measure how long rods are for hanging clothes.
Make notes of any areas that block space for placing furniture. For example: a radiator that sits against a wall, or a bump-out in a wall that is hiding electrical equipment.
Make notes about the windows: do they have curtains or another type of treatment? Are they floor to ceiling or can you place a piece of furniture under them?
In the bathroom, answer a small checklist:
Is the shower/tub accessible?
Are there grab bars next to the toilet and shower/tub?
What kind of storage is available in the bathroom? Measure cabinets and take photos.
Is there a shower curtain?
Will the bathroom need bathmats?
In the kitchen, answer a similar checklist:
What appliances are available? Do they appear to be working?
How much storage is available? Measure and take photos of the insides of cabinets and the pantry (if there is one).
Are the cabinets all easy to reach or are some going to be too high for our client to access easily?
Once we’ve completed the above, we can prepare an accurate model of the apartment for our client. Then we bring this to our client’s current home to measure their furniture and prepare a floorplan. In our next blog post, we will cover this part of the process.

